The Best Way to Fit an Aftermarket Spoiler
Mod Central
Share This Post
Installing an aftermarket spoiler is one of the most popular modifications for improving your car's aerodynamics, aesthetics, and even handling performance. However, fitting a spoiler correctly requires careful preparation and the right tools to ensure a secure and professional finish. Here’s a step-by-step guide to fitting an aftermarket spoiler to your car, including everything you need to know for a smooth installation.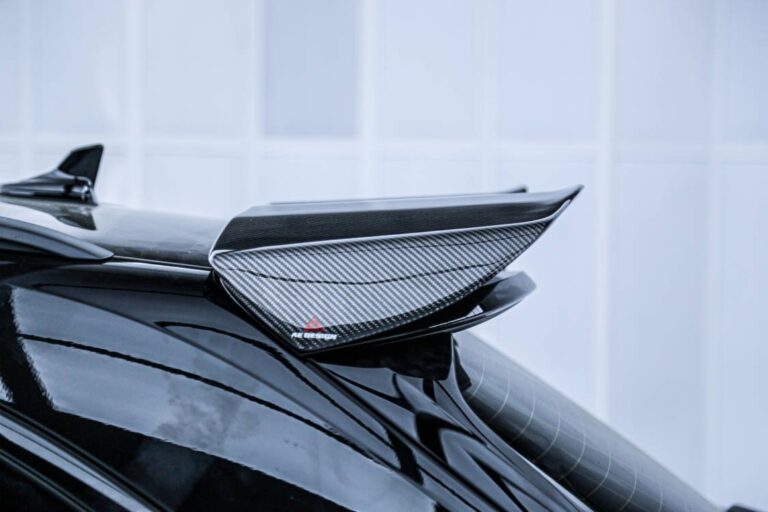
Preparation Is Key
Before diving into the installation, proper preparation ensures a seamless fit and prevents damage to your car’s paintwork or structure. Things to Consider:- Choose the Right Spoiler: Ensure the spoiler is designed for your car's make and model or is a universal spoiler that fits correctly.
- Inspect for Damage: Check the spoiler and your car’s surface for any scratches, dents, or imperfections that could affect installation.
- Location: Install the spoiler in a clean, well-lit, and dry environment, such as a garage or workshop.
- Drill with appropriate drill bits (often 6mm or 8mm for most spoiler kits)
- Tape measure and masking tape
- Torque wrench and screwdriver
- Silicone adhesive/sealant (if applicable)
- Touch-up paint or rust inhibitor (if needed)
- Cleaning supplies (isopropyl alcohol, microfiber cloth)
- Template or installation guide (usually provided with the spoiler)
Preparing the Surface
Step 1: Clean the Area Use a car-safe cleaner or isopropyl alcohol to thoroughly clean the area where the spoiler will be mounted. This removes dirt, grease, or wax that could interfere with adhesion or drilling. Step 2: Mark the Position- Place the spoiler on the trunk or designated mounting surface to check alignment.
- Use masking tape to outline the spoiler's position, ensuring symmetry on both sides.
- Double-check measurements with a tape measure to confirm even placement.

Types of Spoiler Installations
There are two main types of spoiler installations: bolt-on and adhesive-mounted. Here’s how to handle each. A. Bolt-On Spoilers Bolt-on spoilers require drilling holes into the car's surface for secure attachment. Step 1: Use a Template Most spoilers come with a paper or plastic template. Align it with your masking tape markings, and use it to mark the exact drill points. Step 2: Drill the Holes- Use a drill bit that matches the bolt size included with the spoiler kit.
- Drill slowly to avoid damaging the paint or distorting the hole.
- Apply touch-up paint or rust inhibitor around the holes to prevent corrosion.
- Secure the spoiler using the provided bolts and washers.
- Use a torque wrench to tighten bolts evenly, avoiding over-tightening that could crack the spoiler or damage your car’s surface.
- Use the adhesive tape or silicone sealant provided with the spoiler kit.
- Carefully apply the adhesive along the spoiler's mounting surface, ensuring even coverage.
- Align the spoiler with the masking tape markings and press it firmly into place.
- Use masking tape or clamps to hold the spoiler in position while the adhesive cures. Follow the manufacturer’s curing time, which is typically 24-48 hours.
Finishing Touches
Step 1: Clean Up- Remove any remaining masking tape or marks with isopropyl alcohol.
- Wipe down the spoiler and surrounding area for a polished look.
- Check the spoiler’s stability by gently applying pressure on all sides.
- If it wobbles or moves, tighten bolts or reapply adhesive as needed.
Tips for a Professional Installation
- Read the Instructions: Always follow the manufacturer’s installation guide for specific details.
- Have a Friend Help: A second pair of hands can help with alignment and stability during installation.
- Use High-Quality Adhesive: Cheap adhesives may fail in extreme temperatures or over time.
- Consider Professional Installation: If drilling or alignment seems daunting, a professional shop can ensure a flawless fit.
